Sticky Bingo
Sticky Bingo adds an element of skill to the beloved classic game. All you need is a some paper, a whiteboard, markers, and an eraser.
Who can play
Sticky Bingo works best with classrooms of several to many students. The students should be old enough to throw a sticky ball with some degree of accuracy and know how to say two-digit numbers.
How to play
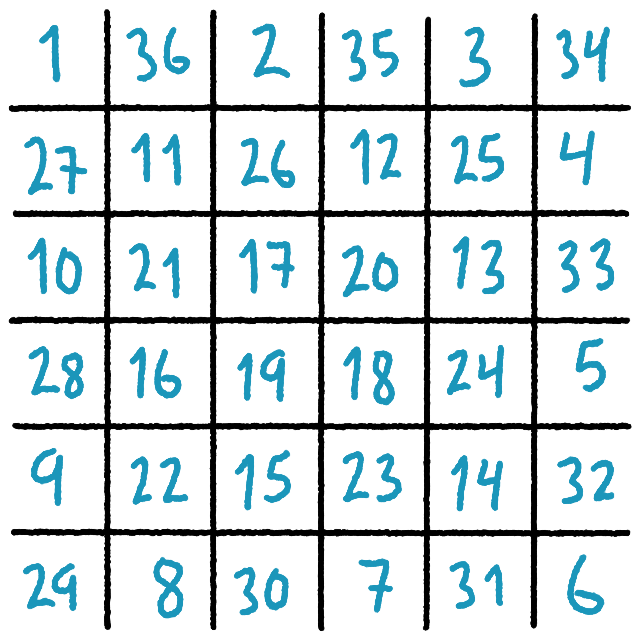
⤷ Draw a large grid on the whiteboard with at least 25 spaces. You can draw more spaces depending on if you want the game to last longer or it somehow complements your lesson plan. Write a number from 1 to n in each space, where n is the size of your grid. I usually write a number that is at least twice the number of students, plus a few more, so everyone has a chance to throw two times without clearing the board. For example, if I had 14 students, I would probably draw 36 spaces.
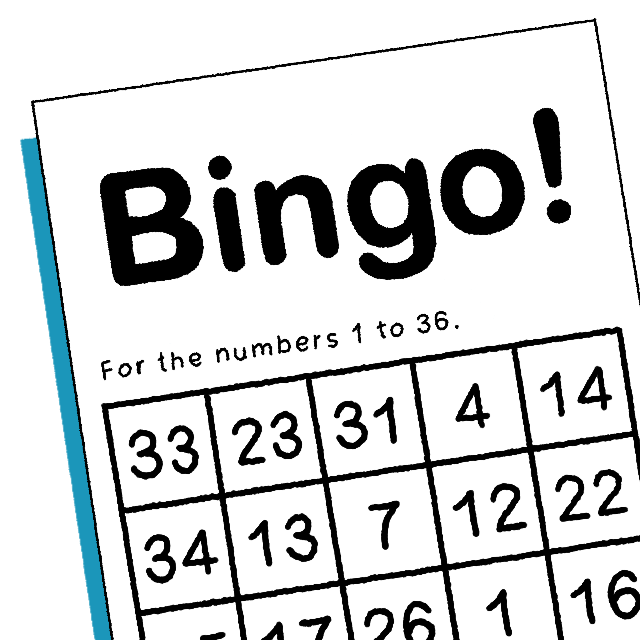
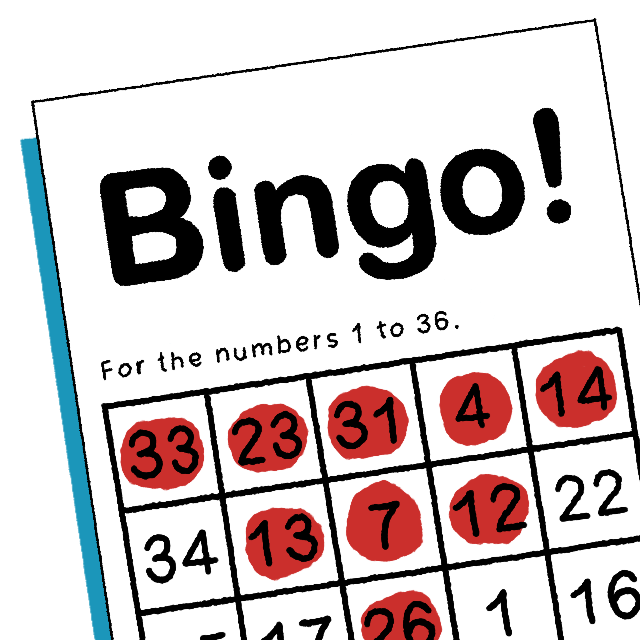
⤷ Distribute bingo sheets to your students. You can give them blank sheets and have them fill in the numbers themselves, or you can use pre-numbered sheets. I’ve already made PDFs of both types that you can use. Each PDF file of the pre-numbered sheets contains 100 unique sheets.
If you want to customize the sheets and know some Python, the GitHub repository is here: https://github.com/ozbonus/bingo-sheets
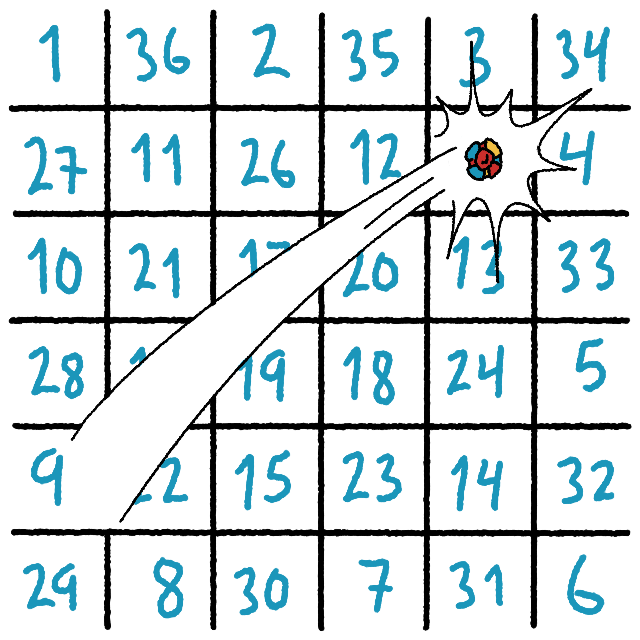
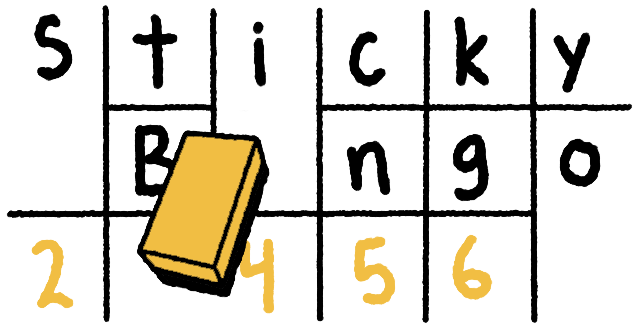
⤷ A student throws a sticky ball at a number advantageous to them. Everyone who has that number on a sheet circles it.
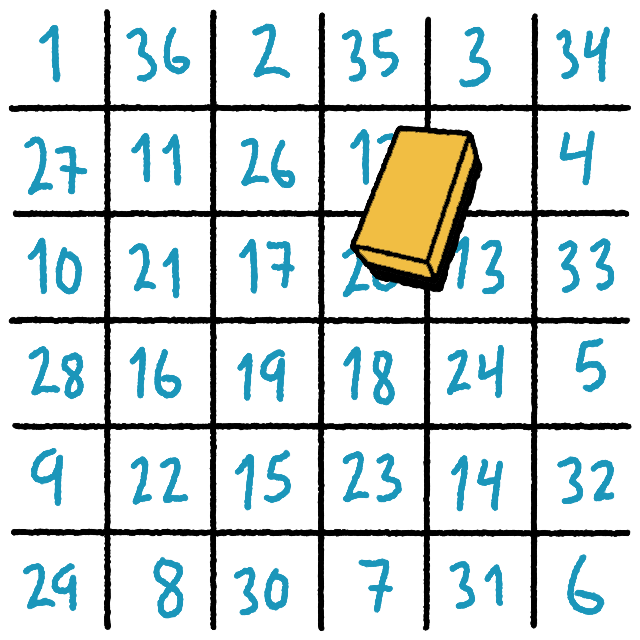
⤷ Erase the number that was hit.
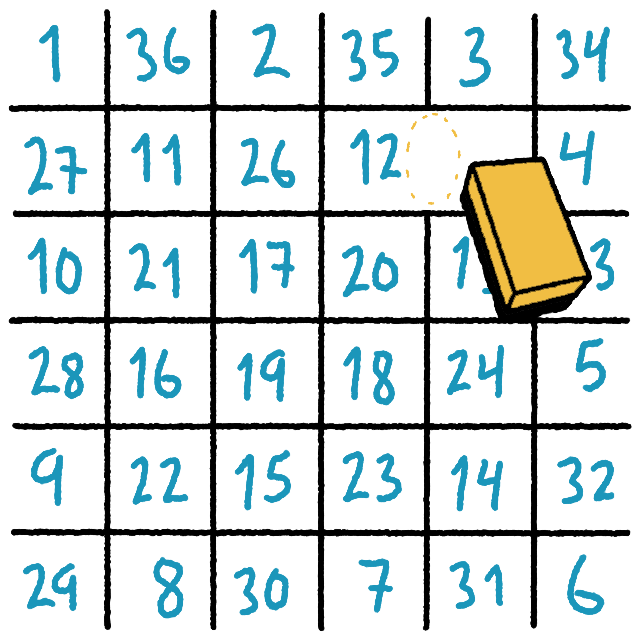
⤷ Erase one of the lines that borders another number. That number’s space has now grown to include the space of the number that was hit. To decide where to erase you could ask the student who just threw the sticky ball or follow some heuristic.
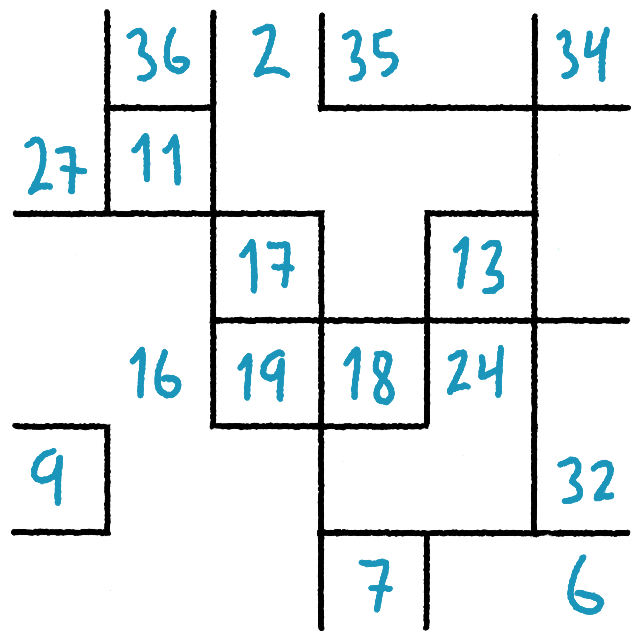
⤷ The grid of numbers continues to morph as the game progresses.
⤷ A student has a five numbers in row circled on their sheet and shouts “BINGO!” This may finish the game or you can continue just for fun if not everyone got to throw more than once.
Variations
- This game naturally lends well to lessons about numbers. For very young students I have them simply say the name of the numbers as they are hit. For older students I might write a simple math expression instead of just a number, such as 13 + 7, and the student who hits that space has to read the full expression. Also for older students I won’t start the range of numbers at one, but instead something higher, such as over 50. You could also use numbers that are multiples of ten or follow some other pattern.
- If your students throw sticky balls with deadly accuracy, this game might finish very quickly. In cases like that I don’t stop playing after the first bingo. I might, for example, keep playing until everyone has thrown the same number of times and see who has collected the most bingos.
Considerations
- I seldom ever play with number ranges greater than 1 to 36. Such large ranges result in too many occurrences of a selected number not being on a student’s sheet, and that just doesn’t feel fun.
- If you are having your students write in their own numbers on blank bingo sheets, make sure they understand the rules first–no number more than once, the sheet might not be big enough to hold all of the numbers, they can’t change numbers after the game begins, etc.
- Another thing with writing in numbers by hand, even if the range of valid numbers is 1 to 100, a lot of students are going to write 1 to 25 in a very regular pattern on their sheets, so when I write the numbers on the board I make up some simple heuristic to avoid having one large area contain all of the most-desired targets. In the pictures above you can see that I started in the top-left space and made a clockwise spiral towards the middle, skipping every other space until reaching the middle, from where I reversed direction and used all of the remaining empty spaces. This is just one of many ways to do it.