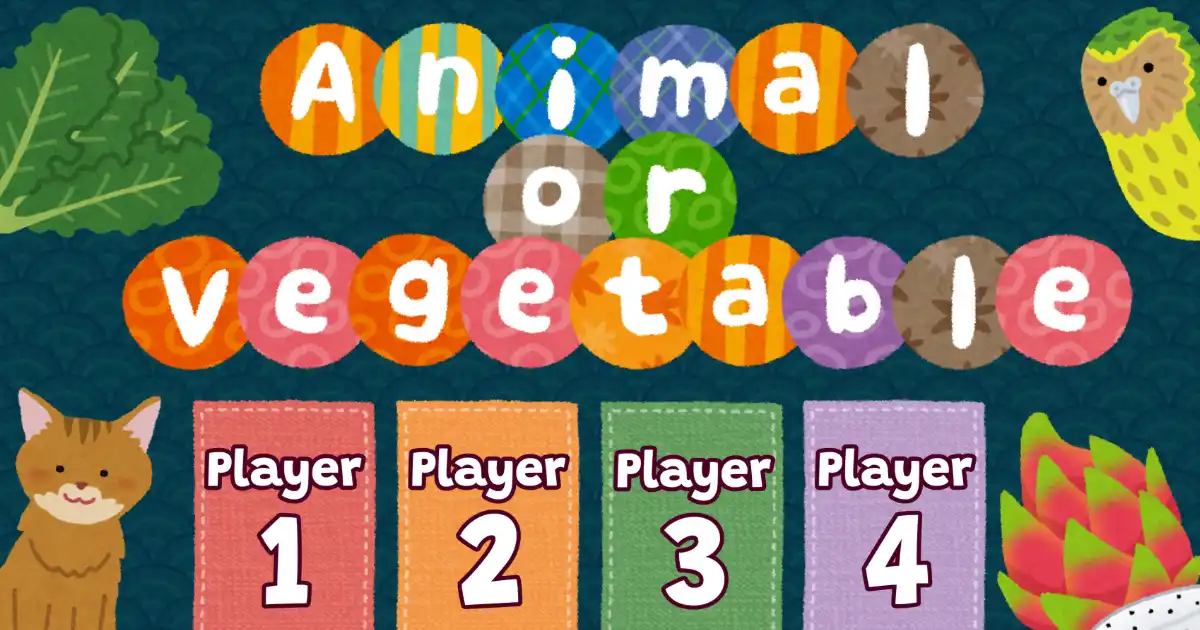
Animal or Vegetable
Teaching at an ESL cram school means that you’ll occasionally get roped into efforts to recruit new students. School festivals in particular are a big deal because they offer an opportunity to engage with possibly hundreds of students and their families, but getting their attention is a challenge among the numerous other attractions. That’s why I made Animal or Vegetable, a simple arcade style video game with flashy visuals, music, and gameplay that was so successful the first time I used it, my school ran out of promotional handouts two hours before the event was over.
This blog post will show you how Animal or Vegetable works and how you can modify it and use it at your own promotional events.
Animal or Vegetable is an open source project and available free of charge. It is not to ever be offered for sale. If you make changes to the source code you are obliged to make your changes available under the same license, GPL-3.0. See the LICENSE file in the GitHub repository for more information.
Most images were obtained from Irasutoya1 and use the Irasutoya License2. All audio is licensed to be used within this project, but may not be extracted for use in other projects.
Audience and time requirements
Animal or Vegetable can be played by one to four players simultaneously. It works best with elementary school aged children, but older players will have a good time, too.
A game usually takes about one minute, including the time to say hello to the players, show them how to play, and congratulate them when they finish.
One adult is required to operate the game and explain how to play.
Video demonstration
Here is a brief demonstration of how the game is played. Overlays show what keyboard keys the operator presses to advance to different screens and titles explain what happens on each screen. This video comprises recordings from multiple play throughs and the game play portion is cut roughly in half to save time. Also, the players were quite young, so they only played on the easiest difficulty.
How to play (player’s POV)
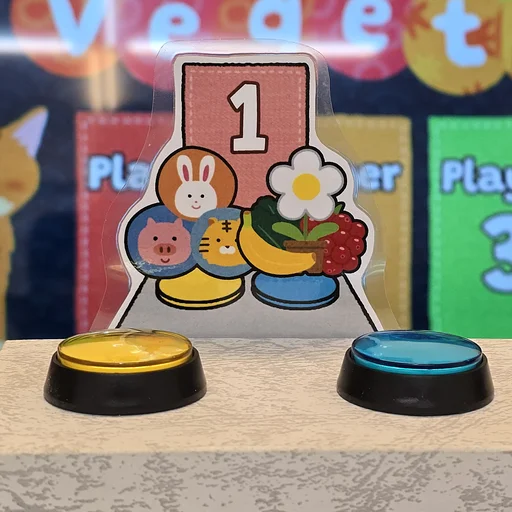
These two buttons are all you need to play.
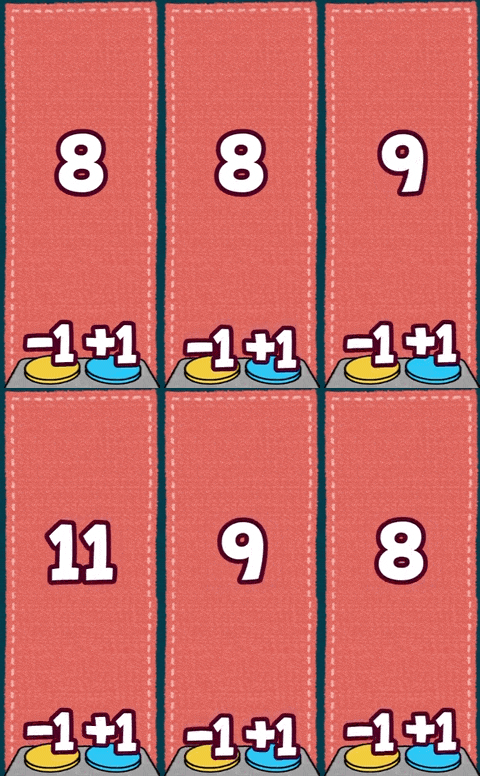
Use the buttons to enter your age. The numbers only range from 5 to 14+, but anyone can play. Older players get a more challenging game. Younger players get a simpler game and extra points.
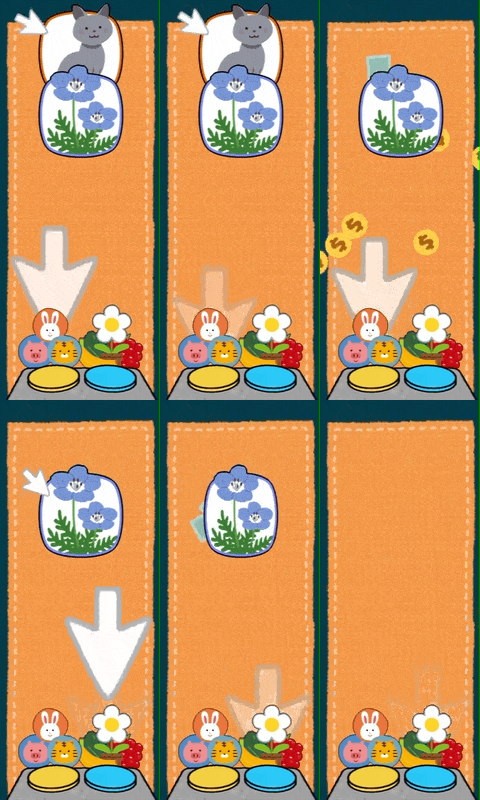
If the little arrow is pointing at an animal, push the left button. If the little arrow is pointing at a plant, push the right button.
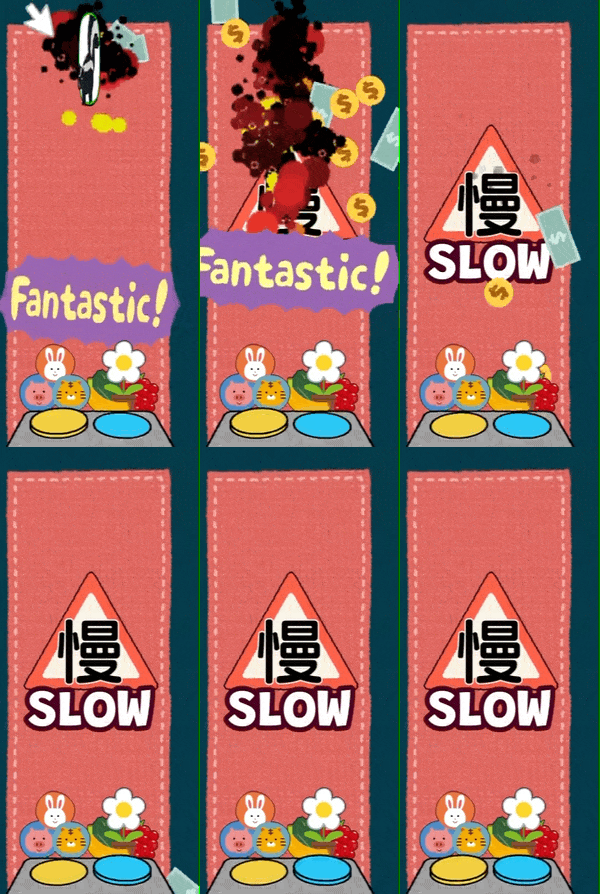
Play quickly, but carefully. If you just hit the buttons crazily, the game will stop until you slow down.
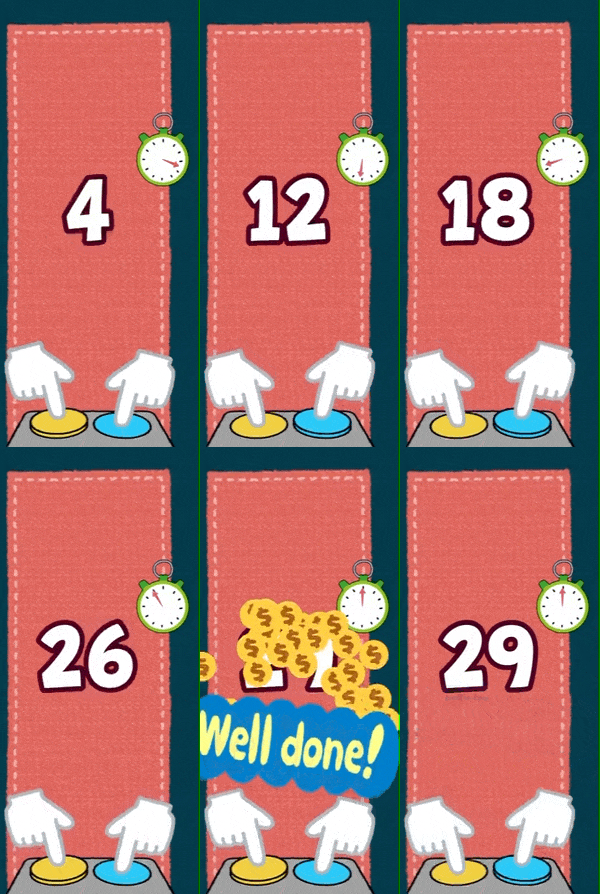
If you’re doing a good job, sometimes you can play a quick bonus game. Push the two buttons as fast as you can!
How to play (operator’s POV)
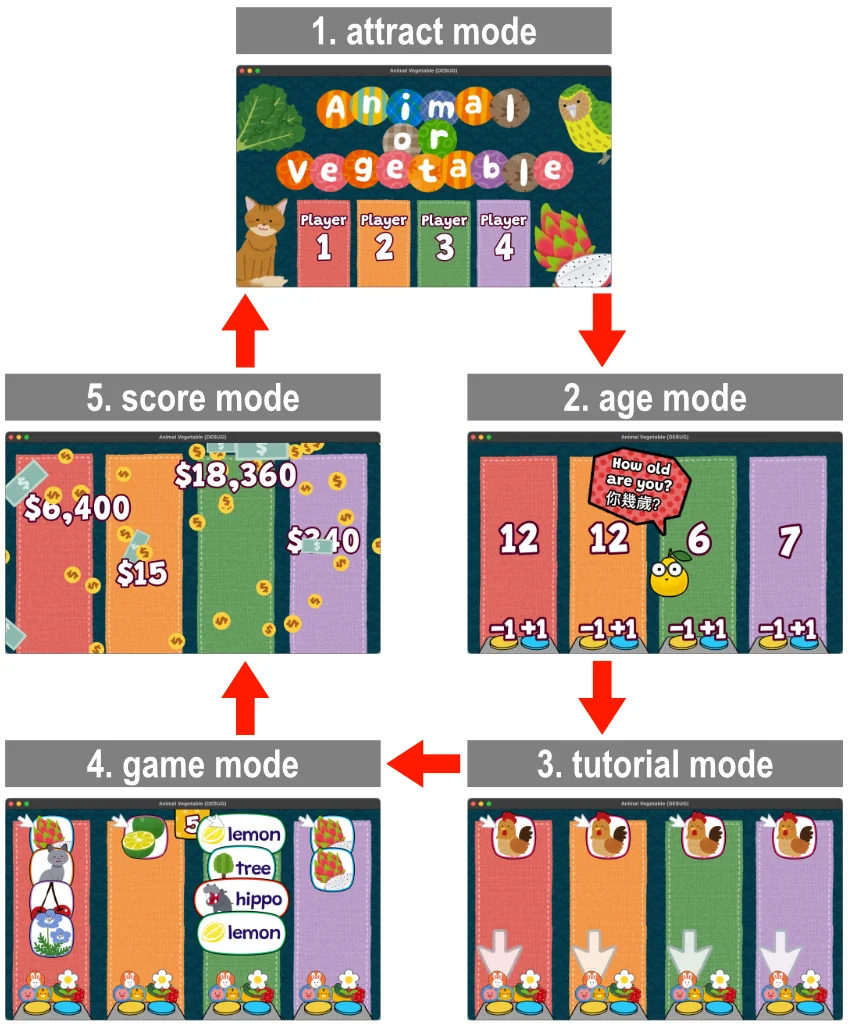
Think of the game as having five modes that you cycle through: attract, age, tutorial, game, and score. You can move to the next mode in the sequence by pressing the Enter key on your keyboard. To move back to the previous mode press the Backspace key.
Attract mode
This mode is designed to be noticeable from a great distance both visually and audibly. It’s also where you can add players to the game. Use the 1, 2, 3, and 4 keys on your keyboard to add or remove the corresponding player. When all of the players are ready press Enter to go to the next mode.
Age mode
Have the players enter their ages using the game controllers. The left button should lower the age by 1 and the right button should increase the age by 1.
Age affects difficulty and scoring. By default players 8 and below will play on easy mode, 9 to 10 will play on medium mode, and 11 and older will play on hard mode. These settings reflect the abilities of the students I interact with, but your needs may be different.
After all of the students have entered an age, press Enter to go to the next mode.
Tutorial mode
This mode has five steps that explain how to play the game. You progress through the steps by pushing the right arrow key on your keyboard. Explain verbally how to play as necessary.
- Press the left button when the little arrow points at an animal.
- Push the right button when the little arrow points at a plant.
- Practice animal.
- Practice plant.
- Teach button mashing bonus game.
After everyone knows how to play, press Enter to go to the next mode. You don’t have to go through all steps first, you can press Enter at any time.
Game mode
There’s nothing for you to do during this mode except cheer on the players and offer help where necessary.
As players do well and classify sets of cards without making mistakes the difficulty of the game can increase through three difficulty levels that affect the kind of cards that appear: easy, medium, and hard. On easy the cards are large images. On medium they are small images with text. On hard they are text only.
Depending on the age of players, the difficulty progression may be capped at a level lower than hard. By default players 8 and younger are capped at easy difficulty. Players who are 9 or 10 are capped at medium difficulty. Players 11 and older have no difficulty cap. These settings reflect the abilities of the students I usually interact with. You may decide to change these settings to fit your needs.
Each difficulty level has five sub-levels which corresponds to the number of cards shown to a player at one time, a “set”. A difficult of Medium-3, for example, means that a player has to categorize a set three medium difficulty cards. Making a mistake in a set lowers the difficulty level.
Here are cards from the three difficulty levels:
If a player is just pressing buttons wildly, cards will stop appearing and a warning will appear, telling the player to slow down. After not pushing any buttons for a short amount of time the game resumes as normal.
If a player correctly categorizes all of the cards in a certain number of consecutive sets, by default three, then they can play the button mashing minigame for extra points.
The game will stop automatically when the timer at the top of the screen reaches 0. Press Enter to go to the next mode. You can also go to the next mode before the timer completes if you are in a hurry.
Score mode
This mode dramatically reveals the scores of each player, presented as dollars. Your job on this screen is to happily congratulate the players and send them on their way.
By default one correct answer awards 100+(14-AGE)*10 points. So a 14 year-old gets 100 points, but an 8 year-old get 160 points. Completing a whole set of cards with no mistakes awards and extra 200 points. The button mashing bonus game awards 140 points per button press.
In the rare case that a player gets zero points, a random small amount of points are awarded so they still get to see their score animated with the others. In slightly less rare case there are identical scores at the end of the game, small amounts of points are distributed at random until they’re all different.
Press the Enter key to go back to the attract mode and play with another group of players.
Set up
Requirements
- macOS computer or laptop (other platforms in development)
- Godot 4.2
- game controllers for up to four players
- external display (recommended)
- external speaker (recommended)
Installation
- Install the latest stable release of Godot 4.2, which is the game engine and IDE used to make Animal or Vegetable. https://godotengine.org/download/
- Clone the GitHub repository to the macOS computer that will run the game. https://github.com/ozbonus/animal-vegetable
- Open Godot and import
project.godot. - Set your controller inputs.
- Open the project in the editor.
- From the application menu go to Project > Project Settings… > Input Map.
- Configure controller buttons for
p1_left,p1_right,p2_left,p2_right,p3_left,p3_right,p4_left, andp4_right. - You may also change the keys for the operator.
- Tweak additional settings as described in [[#Customization]].
- Run the game. Press Command + B or press the play button (at the top right of the window) to run the game directly from the editor. Or you can export a
pkgfile from the application menu at Project > Export… .
Customization
There are numerous options that you can tweak to make Animal or Vegetable fit your needs. In this section I’ll list Godot scene files and what changes you can make within them. Usually any variables worth changing are accessible within the inspector panel, so you won’t need to edit script files directly.
You should really do a few Godot tutorials before making any changes. I strongly recommend “Your first 2D game”3 from the official Godot website.
age_label.tscn- Default Age: initial age shown on the age screen
- Max Age: highest age that can be entered
attract_background.tscn- X Speed: background horizontal scrolling
- Y Speed: background vertical scrolling
play_area.tscn- Easy Difficulty Cap: the highest age limited to easy difficulty
- Medium Difficulty Cap: the highest age limited to medium difficult
- Difficulty Up Interval: the number of perfect sets required to progress to a higher difficulty
- Difficulty Down Interval: the number of imperfect sets that will lower the game’s difficulty
- Flail Cooldown Threshold: the number of button presses per second that stops the game for one player and triggers the “slow down” warning
- Flail Cooldown length: how many seconds a player must wait before the game resumes
- Base Card Points: the number of points awarded to correctly classifying one card
- Penalty: the number of points taken away for misclassifying a card
- Card Age Bonus: the number of extra points awarded per year of age below the maximum recordable player age
- Set Bonus: the number of points awarded for correctly classifying all of the cards in a set
- Mash Interval: the length, in seconds, of the button mashing bonus game
- Mash Multiplier: the number of points awarded per button press during the button mashing bonus game
screen_transition.tscn- Customize the image show during transition by selecting
ScreenTransition>TransitionIconin the scene browser, then changingTexturein the inspector.
- Customize the image show during transition by selecting
Contribute
Animal or vegetable is an open source project and contributions are welcome. Compared to most video games, this one is pretty simple and if you already know Python, learning GDScript will be a breeze. I recommend following through the official walkthrough, “Your first 2D game”3, which will teach you enough about the engine and language to start making contributions.
You should know that the game was originally made under a very tight deadline and that’s reflected in the code base. Here’s hoping I have time for a rewrite in the future.
You can also submit bugs and desired features on the GitHub issues page4
Custom controllers
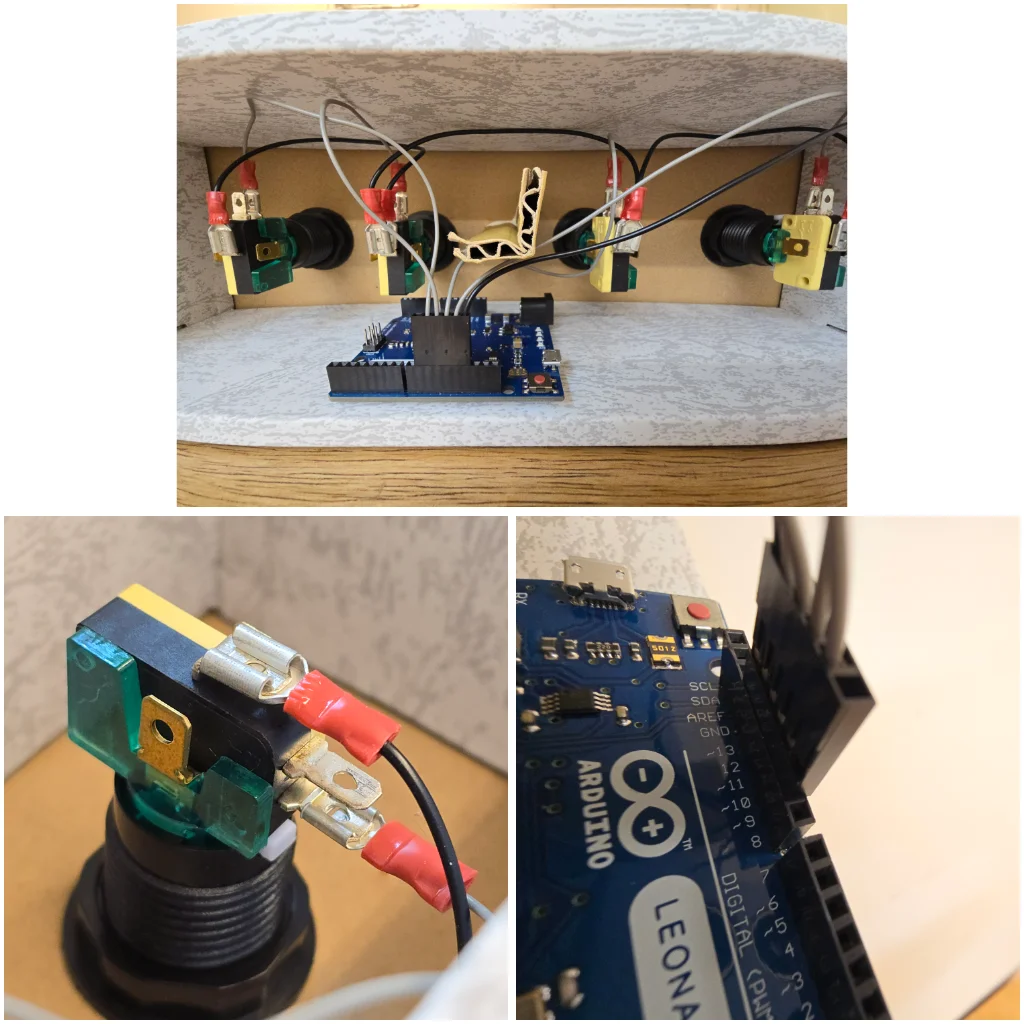
For my own use I created game controllers for four players inside of two simple cardboard boxes, with two controllers housed in each. The cost of materials was very low compared to off the shelf solutions, but required a significant amount of time. You may decide that buying some simple game controllers is a better fit for your needs.
A detailed guide on how I built my controllers is beyond the scope of this post, but I’ll include some information that you can start with.
Materials
Other than the cardboard boxes the controllers use eight microswitches inside of eight buttons. They’re not any particular brand, just generic parts from my local electronics shop in Taipei.
Inside of each box is an Arduino Leonardo5, which is far more power than what this project calls for, but they are still cheap and have the advantage of being recognized by computers as USB input devices with no additional hardware.
The wires have crimp connecters for the switches and Dupont connectors for the Arduinos, so no soldering is required.
Software
The very simple Arduino .ino file is hosted on GitHub6. Because I used two Arduinos each one needs slightly different settings so they can be recognized as independent devices. This is accomplished by commenting-out either lines 14 and 15, or lines 18 and 19 before uploading to the Arduinos.
